Paint Your Nails Like Pro

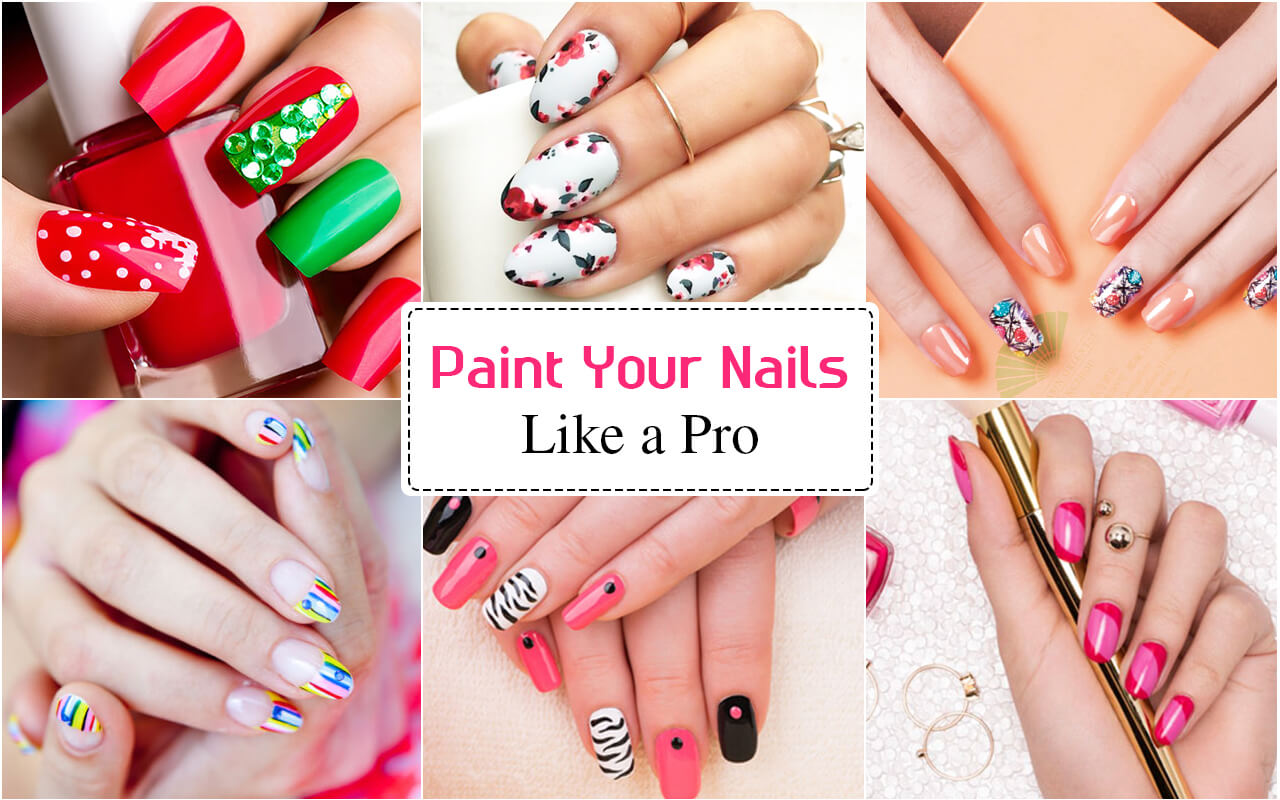
Panit Your Nails Like Pro

Professionally manicured hands surely draw a lot of interest, but customary beauty salon visits to sustain them is really not a viable and pocket-friendly option for most of us.
Applying NAIL POLISH on your own may perhaps sound like a child's play, but it can turn out to be a maddening test of your fine motor skills, mainly when using your non-dominant hand. However, with a little practice and some useful tips, you can master the art of applying NAIL POLISH flawlessly, without leaving your cuticles tainted.
To achieve impeccably painted nails, invest in a good quality NAIL LACQUER – there is no other way of doing it.
You can try out Loreal,Lakme,Debelle,Oriflame.TheseNAIL-POLISHES last longer, don’t chip off easily and do not stain your nails too much. Also, don’t try to hold on to that bottle of your favourite nail colour for infinity. If the liquid has turned splotchy, it’s time to toss the bottle and get a fresh one. It’s also a good idea to buy yourself a BASE COAT and TOP COAT.
They lengthen the life of your NAIL POLISH and help in supporting and protecting your nails. Now that we are done with the nitty-gritty, here are some tips to learn how to apply NAIL POLISH step-by-step like an expert. Go on and JUST NAIL IT!
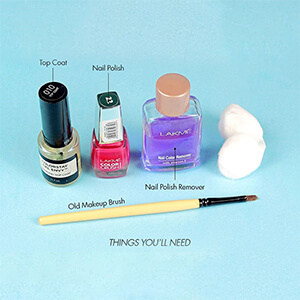
STEP 1 Collect all this paraphernalia and set your stage to glorious nails.
THINGS YOU WILL NEED:
• Base coat
• Nail polish
• Nail polish remover, non-acetone
• Cotton balls
• Old makeup brush
• Top coat
STEP 2 CLEAN UP YOUR NAILS:
Use a non-acetone remover to clean off old nail polish. Acetone leaves your nails super dry and can make them brittle over time.
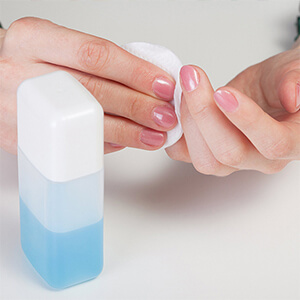
• Soak a cotton ball with non-acetone NAIL POLISH REMOVER.
• Rub it over your nails to remove any old polish. Use a fresh cotton ball if the first one gets too soiled.
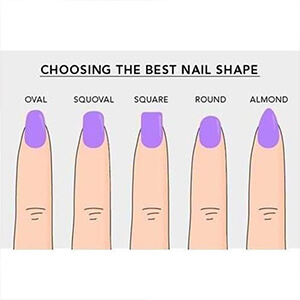
• Also, trim, file and smooth out your nails with a buffer before proceeding to paint them.
STEP 3 APPLY A BASE COAT:
It is essential to use a base coat. It makes your NAIL POLISH last longer and protects your nails from staining, especially if applying a dark colour. The ONE Base & Top Coat Base Coat is a good option.
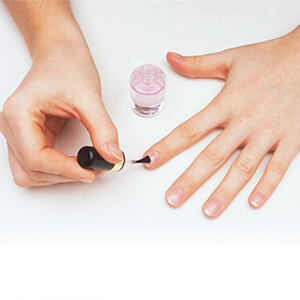
• Dip the brush in the base coat and wipe it on the rim of the bottle to remove the excess from the brush.
• Apply a thin base coat, using just 2 or 3 strokes.
• Let the base coat dry before you proceed with applying the polish.
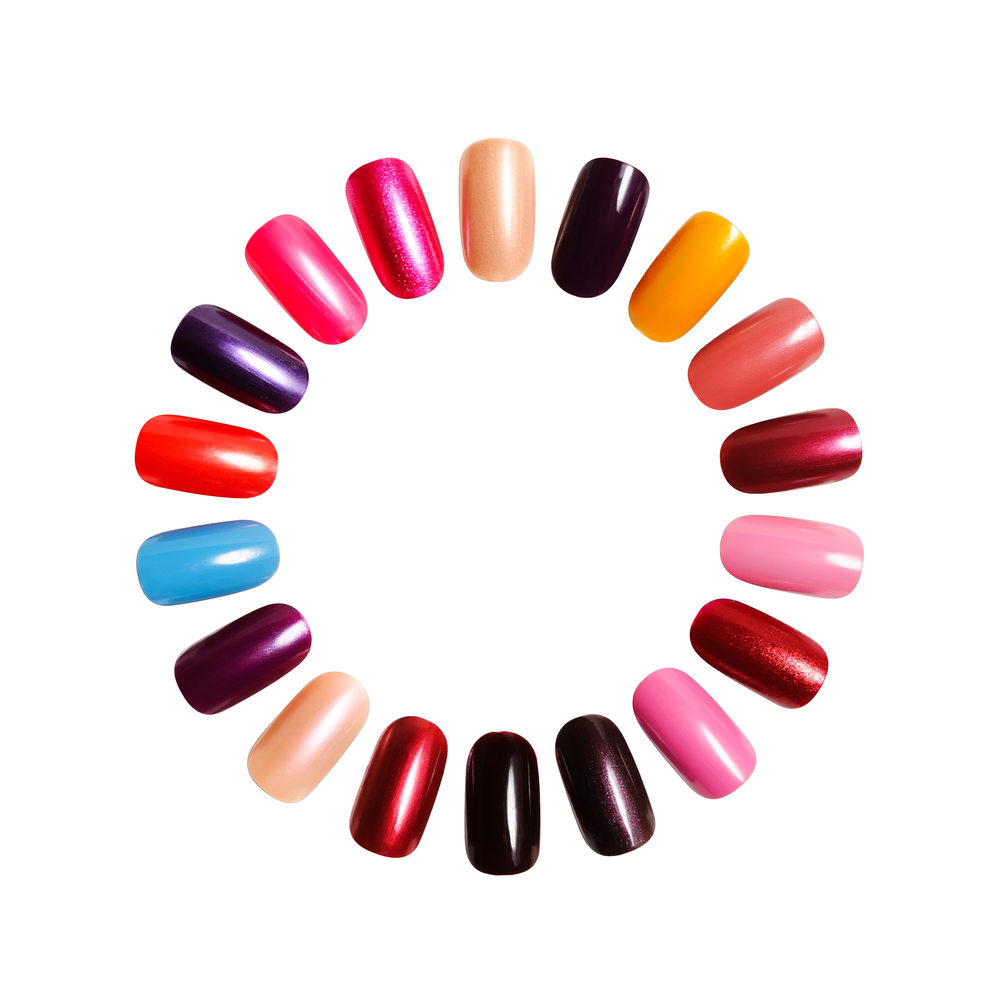
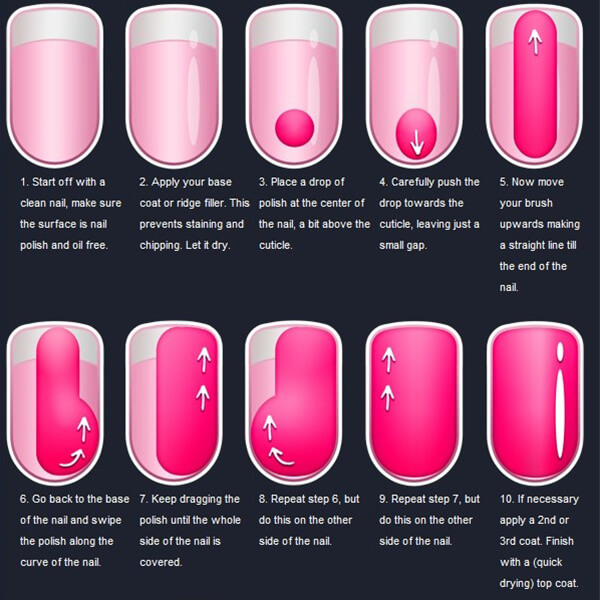
STEP 4 APPLY YOUR FAVOURITE NAIL POLISH:
• Dip the brush in the NAIL POLISH so you have just enough to apply one thin coat. Remove any excess polish from your brush by wiping it along the rim of the bottle.
• Place a small drop of the polish near the base of your nail, slightly away from the cuticle. • Push the polish up to the cuticle line, leaving a hairline space between the polish and the cuticle.
• Then, drag the brush down in a straight line, starting from the base of the nail toward the free edge. • Swipe the brush along the left edge to coat the side of the nail. Do the same for the right side.
• Make multiple light strokes, if needed, to even out the polish. • Repeat the process for all your nails.
• Allow your nails to dry completely before applying the second coat. • For the second coat, use more nail polish but lighter strokes to avoid smudging the first coat.
• Proceed to apply a third coat only if you want a deep colour. Otherwise, 2 coats are enough.
• Let each coat dry before proceeding to the next step. Here is a picture guide to assist you
STEP 5 CLEAN UP THE SMUDGED EDGES:
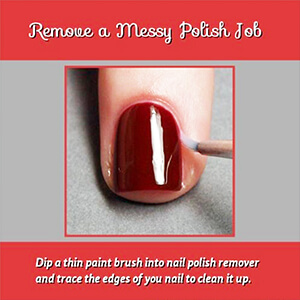
• Dip an old makeup brush in NAIL POLISH remover.
• Carefully rub off the smudges of NAIL POLISH on the skin around your nails.
STEP 6 APPLY THE TOP COAT WHY TOP COAT?
Top coats are essential to make your NAIL POLISH last longer, prevent chipping and add sheen to your nails. A final layer of clear top coat over your finished manicure is important for a few reasons:
1. Finish – Some nail polish shades dry matte – neon colours, for example, are notorious for this. Most top coats will restore shine. On the other hand, sometimes you’d prefer a matte finish, and a matte top coat can give the desired effect.
2. Evening out brush strokes – Some top coats are great for smoothing out uneven application and visible brush strokes, to give a professional finish to your manicure. These will sometimes blur your nail art though if you’re not careful (and sometimes even if you are).
3. Rapid drying – Top coats can speed up the dry time of your polish. Unfortunately, many quick-dry top coats are also prone to chipping, and shrinkage (where the top coat makes the colour recede from the edges of the nail) is more common with quick-dry top coats.
4. Prolonging your manicure – A top coat (along with a good base coat) can help prevent chipping of your manicure. Additionally, tip wear (where polish wears off at the tip and bare nail starts showing) can be slowed down by reapplying top coat every few days.
5. Hardens nails – Adding a hard layer of top coat can strengthen the nail and prevent breakage.
6. Smoothing out glitter – Glitter polishes can often leave a bumpy finish. Adding a thick layer of top coat can make it smooth and glossy, and some top coats are especially made for this purpose.
• Dip the brush in the top coat and apply it over each nail using 3 strokes. Keep the strokes very light to avoid digging into the nail polish. • Wait for the top coat to dry completely.
• If you’re using a regular top coat, you can dunk your nails in ice water to speed up the drying process. Pat dry and apply baby oil over them.
• Your fresh nail polish is ready to be flaunted! You have NAILED IT!

About the Author